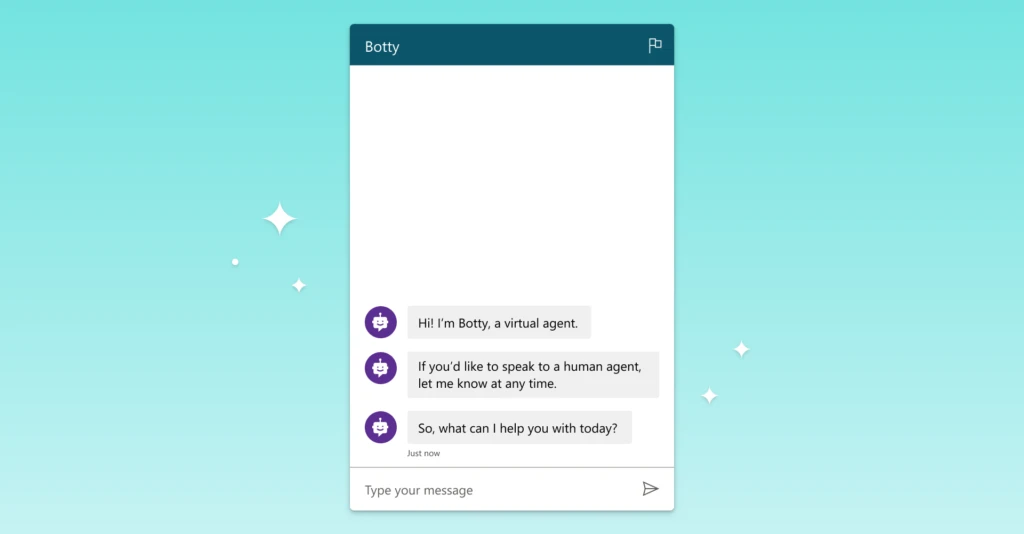
One of the topmost asks from Power Virtual Agents customers is to make a bot start the conversation. Customers want their bot to greet their users before they ask any questions. For example, a bot begins a conversation by saying, “Hi, I’m Botty, a virtual agent”.
In this blog, you can learn how to do that using a custom canvas. First, you’ll learn how to deploy a custom canvas that includes arguments that trigger the greeting. By default, the custom canvas calls the default system greeting topic. You can, however, create a new topic to be used as the greeting, although you will need to divert the default system greeting topic to a new topic.
Information: Having the bot start the conversation will show up in your analytics and increase your session count. If the user of your bot doesn’t engage with the bot (for example, they load the page but don’t ask the bot anything), the session will be marked as an unengaged session. This might impact your analytics.
You can also combine the customized greeting with customization to the look and feel of the bot.
Deploy a custom canvas for your bot
To make your bot start the conversation, you’ll need to deploy a custom canvas that includes arguments that cause the default system greeting topic to be displayed when the bot loads.
- Create and publish a bot.
- In the navigation menu under Settings, select Channels.
- Select Mobile app.
- Next to Token Endpoint, select Copy.
- Copy-paste the HTML code below and save it as index.html.
- In the index.html you created, enter your Token Endpoint at the line
var theURL = "<BOT TOKEN ENDPOINT>". - Open index.html using a modern browser (for example, Edge) to open the bot in the custom canvas.
- Test the bot to ensure you are receiving responses from your bot and that it’s working correctly. If you encounter problems, make sure you’ve published your bot, and that your Token Endpoint has been inserted in the correct place. It should be after the equals sign (=) at the line
var theURL, and surrounded by double quotation marks (“).
Alternately, you can copy and paste the code below into the w3schools.com HTML try it editor to see how it works (remember to add your Bot ID).
Contoso Sample Web Chat
Contoso Bot Name
Change the bot’s default greeting
The code in the index.html file causes a topic to be called automatically when the bot is loaded. By default, it calls the system greeting topic. You can also create a new topic and divert the default system greeting topic to that new topic.
In both instances, you make changes to the topic you want to call as you would normally.
We recommend you modify the system greeting topic so that you don’t have to edit the index.html code.
Modify a system topic (recommended)
- Select Topics in the side navigation pane.
- Under System Topics, select the Go to authoring canvas icon on the Greeting topic row.
- Edit the text inside the Message boxes. You can also add or delete additional nodes.
- Select Save when you’re finished editing the message.
- Publish your bot.
- You can now test your bot by going to the web page where you deployed your bot’s custom canvas. You’ll see the bot start the conversation by automatically showing the greeting topic.
Create a new user topic
Warning: Using a user topic to start a conversation will increase your billed sessions. A billed session is an interaction between a customer and a bot and represents one unit of consumption. The billed session begins when a user topic is triggered. More information: Licensing guide.
- Select Topics on the side navigation pane.
- Select New topic, and give it a name.
- Select Go to authoring canvas.
- Add the text inside the Message node.
- Select Save when you’ve finished editing the message.
- Select Topics again on the side navigation pane.
- Under System Topics, select the Go to authoring canvas icon on the Greeting topic row.
- Delete the message nodes on the Greeting topic.
- To automatically divert the bot to a user topic, select + to add a node, and then Go to another topic.
- In the flyout menu, select the user topic you created above.
- Select Save when you’ve finished editing the message.
- Publish your bot.
- You can now test your bot by going to the web page where you deployed your bot’s custom canvas. You’ll see the bot start the conversation by automatically showing the new topic.
You can also find additional documentation here.
We’d love to hear your feedback. Please visit our community forum at https://aka.ms/PowerVirtualAgentsForum and share your feedback.
And submit your idea requests at https://aka.ms/PowerVirtualAgentsIdeas.
Disclaimer
You may install and use the sample code included in this documentation only for use with the Microsoft Power Virtual Agents service. The sample code is licensed “as is” and is excluded from any service level agreements or support services. You bear the risk of using it. Microsoft gives no express warranties, guarantees, or conditions and excludes all implied warranties, including merchantability, fitness for a particular purpose, and non-infringement.